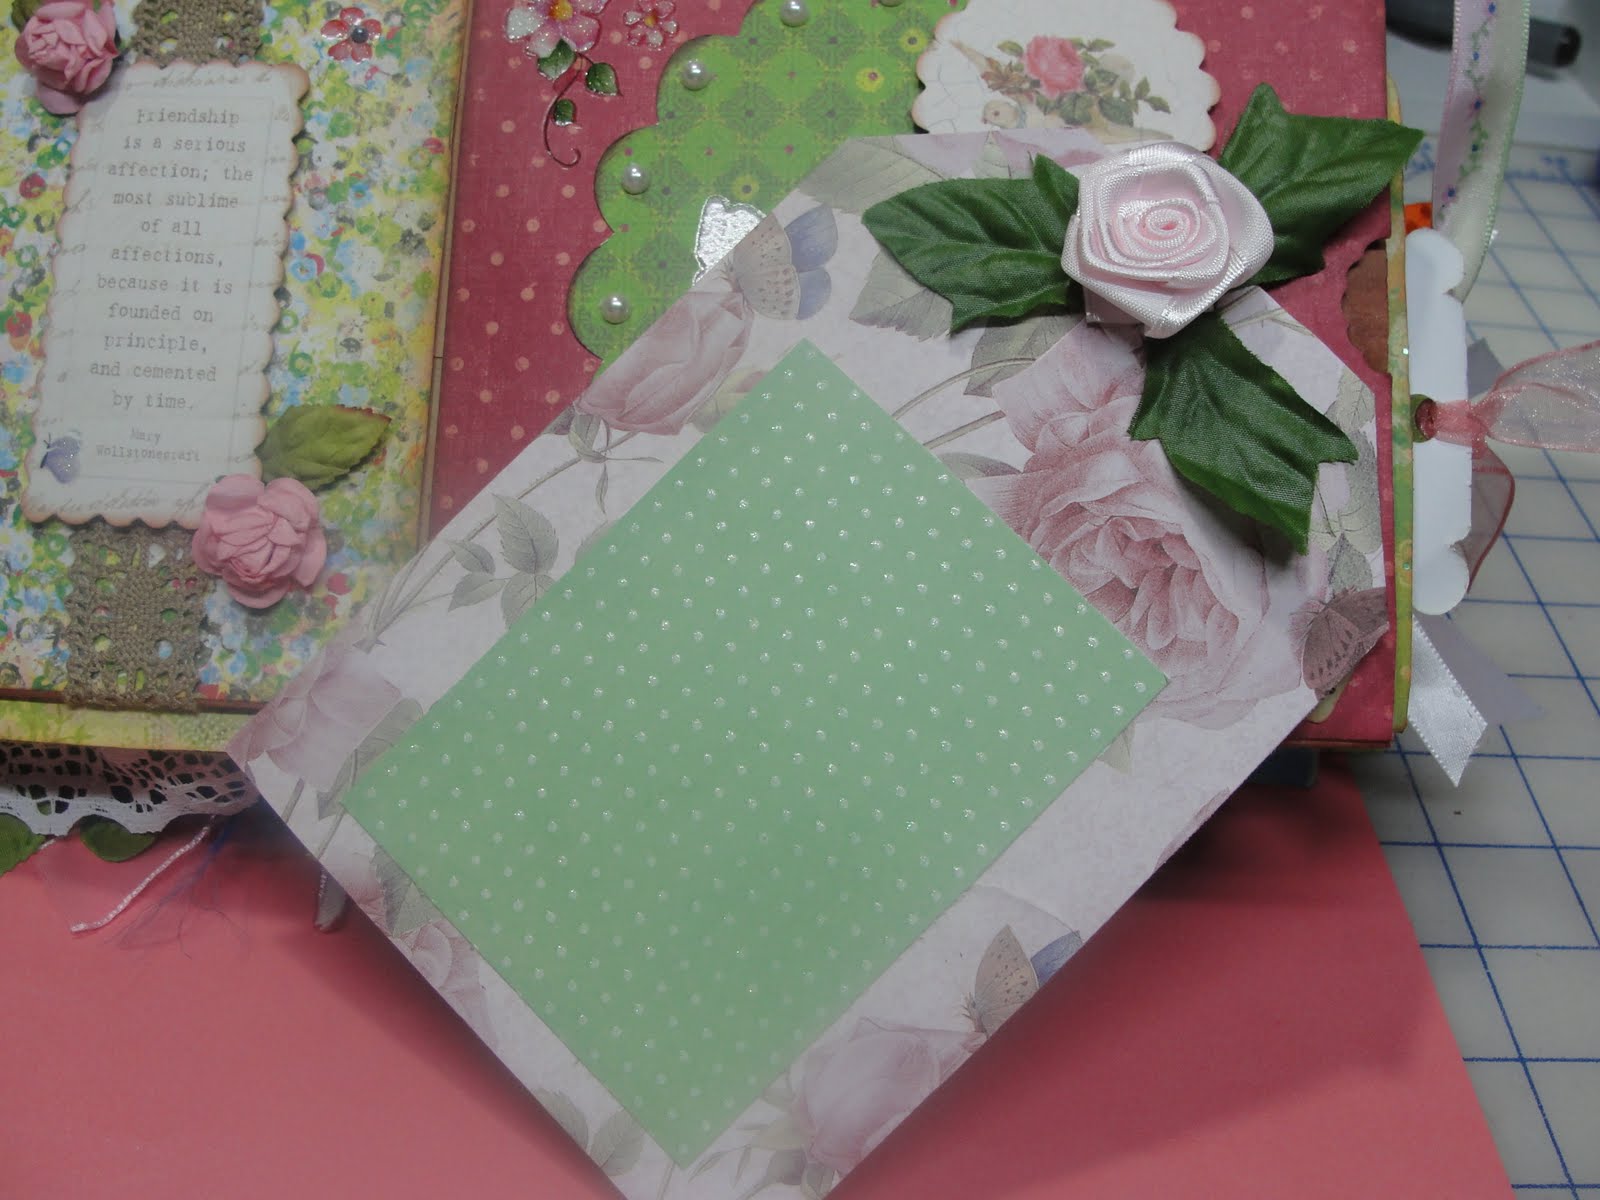
This is my first paper mini album made from paper bags. I used the instructions from Laura from Following the Paper Trail. Many different features and new techniques for me this time. The theme of this mini is flowers and friends.
I covered the mini with green canvas fabric, another take on an example of Laura's. I took a lot of pictures...:)
The cover outside:
Inside the front cover:
The poppy flower seed packet is from K & Company. I used several throughout the mini as journaling tags. Most of the trims and designer papers are from scraps in my stash.
The first page:
I included the tags that go into the bags on each page picture.
The second pages (I used a light green mess fabric to cover the first of these pages):
The fan was made with a button and piece of a paper doily. The flowers are Prima.
The third set of pages:
I used one of the frames in Sentimental to make these tags. I love the music staff paperclip. Staples has them.
The fourth set of pages:
Both of these tags are the same. I used another cut from Sentimental and placed the frame on one side and the insert on the other.
The last page and back cover: (Bet you never thought it would get here):
This is my favorite fairy in the book. They were on a rub on sheet at Michaels called Fairies and Flowers.
I liked all the creative spaces this album style creates. I won't do another with paper bags from the grocer, they are very uneven and I don't like the side view of the bags. I will try another with better paper bags.
I hoped you liked looking at this. I want to say thank you to everyone who sent me well wishes. It's been a rough spring and summer for me, but I'm still here going day by day!
Hugs and blessings
Sue
A place to share my creations and inspirations with other card makers and scrapers.
8/08/2011
3/27/2011
Woven Layers Page Sketch - Variation One
Here's the page sketch:
I liked the layout, but thought it needed some intrigue. Here's my first page using the basic elements of the sketch.
I used DCWV papers (LOL - my favorites for page layouts) from Summer Dreams. Just two sheets of paper from this stack and some white card stock. The base of the page is a sheet of blue printed paper that has a white bird in the lower corner.The other page of paper is border strips. I used two different border strips to crisscross the background paper. I used white card stock for the photo mat. There is a sheet of tags included in this stack, I used a green tag for journaling.
The glittered letters are from an alphabet set I had in my stash. I have corrected the Y so it is not crooked - sorry for the photo. I tried to pick out colors that were in the papers. The large purple flower is a brad buddy from Paper Wishes. The rest of the embellies are buttons from my stash. I threaded DMC dazzling embroidery floss in the button trying to match the flowers on the border strip below the mat. Here are more closeups.
I liked the layout, but thought it needed some intrigue. Here's my first page using the basic elements of the sketch.
I used DCWV papers (LOL - my favorites for page layouts) from Summer Dreams. Just two sheets of paper from this stack and some white card stock. The base of the page is a sheet of blue printed paper that has a white bird in the lower corner.The other page of paper is border strips. I used two different border strips to crisscross the background paper. I used white card stock for the photo mat. There is a sheet of tags included in this stack, I used a green tag for journaling.
The glittered letters are from an alphabet set I had in my stash. I have corrected the Y so it is not crooked - sorry for the photo. I tried to pick out colors that were in the papers. The large purple flower is a brad buddy from Paper Wishes. The rest of the embellies are buttons from my stash. I threaded DMC dazzling embroidery floss in the button trying to match the flowers on the border strip below the mat. Here are more closeups.
Thanks for stopping by. Let me know if you have any questions or comments. I'll have variation two in a day or so.
Sue
3/26/2011
Butterfly Kisses Layout
The papers used on this layout are from DCWV Summer Dreams Pack, and a transparency overlay from Dena's Closet (used for the butterflies.) I used the Cricut to cut the butterflies from the Pictureque cartridge and to cut the wording from the Holiday Cakes cartridge. Except for those cuts everything was cut with my paper trimmer from four sheets of paper in the Summer Dreams pack.
The base of the page is a sheet of green dotted paper with butterfly and floral images on two corners. The blue dotted paper divides the page in half. I cut a strip from a page of matching borders and layered it on the blue strip to tone down the blue. I used a red print sheet for the photo mats. Small strips from the border print page were used on the corners of the photo mats.
The butterflies are cut from a sheet of soft green printed transparency. (Because of the patterns on the papers the printed paisley image on the butterfly doesn't show in the photos.) It was easy to cut these on my Original Cricut with the blade depth at 6 and the pressure at 5. I used short strips of Scor Tape to adhere the three butterflies on the page, then slightly bent up the wings to make them three dimensional.
The solid red flowers on the green paper are hearts grouped in circles. I used two sets of three heart buttons to replicate parts of those flowers and create more dimension. I used white card stock for the lettering. It is bold enough to be noticed and blends with the white images on the green sheet.
I made this layout to display pictures of both my granddaughters who dressed as fairies for Halloween one year. They both looked like beautiful butterflies.
Thanks for stopping by. Let me know if you have any questions.
Sue
The base of the page is a sheet of green dotted paper with butterfly and floral images on two corners. The blue dotted paper divides the page in half. I cut a strip from a page of matching borders and layered it on the blue strip to tone down the blue. I used a red print sheet for the photo mats. Small strips from the border print page were used on the corners of the photo mats.
The butterflies are cut from a sheet of soft green printed transparency. (Because of the patterns on the papers the printed paisley image on the butterfly doesn't show in the photos.) It was easy to cut these on my Original Cricut with the blade depth at 6 and the pressure at 5. I used short strips of Scor Tape to adhere the three butterflies on the page, then slightly bent up the wings to make them three dimensional.
The solid red flowers on the green paper are hearts grouped in circles. I used two sets of three heart buttons to replicate parts of those flowers and create more dimension. I used white card stock for the lettering. It is bold enough to be noticed and blends with the white images on the green sheet.
I made this layout to display pictures of both my granddaughters who dressed as fairies for Halloween one year. They both looked like beautiful butterflies.
Thanks for stopping by. Let me know if you have any questions.
Sue
3/24/2011
Three Elements Page Sketch - Variation 3
Here is the basic sketch:

Here is my third version. A twist on the sketch this time.
I used Walk In My Garden for the flower pot, and Picturesque for the butterfly and flower on the pot. I used my Nestabilities to cut the three sunflowers. I thought I would either use the centers of these flowers are journal space or small pictures. The three picture frames are made with George. The base of the frames is MS card stock trimmed with sections of Bazzill "Just the Edge" cardstock strips. Both the 1" strip of yellow dotted card stock behind the frames, and the scallop part of the daisies are also MS card stock. I used DMC memory thread for the stems and vines in the flowers and the antenna on the butterfly. The butterfly is made from papers in my stash of scraps. I haven't added the title yet, but it will be letters going down the space between the frames and flower pots. It will be based on which pictures I finally decide to put in the frames. The holographic bow on the pot is from my Christmas stash. I thought is balanced out the gems on the frames and butterfly.
Here are some closeups of the details.
Thanks for stopping by. Let me know if you have any questions.
Sue

Here is my third version. A twist on the sketch this time.
I used Walk In My Garden for the flower pot, and Picturesque for the butterfly and flower on the pot. I used my Nestabilities to cut the three sunflowers. I thought I would either use the centers of these flowers are journal space or small pictures. The three picture frames are made with George. The base of the frames is MS card stock trimmed with sections of Bazzill "Just the Edge" cardstock strips. Both the 1" strip of yellow dotted card stock behind the frames, and the scallop part of the daisies are also MS card stock. I used DMC memory thread for the stems and vines in the flowers and the antenna on the butterfly. The butterfly is made from papers in my stash of scraps. I haven't added the title yet, but it will be letters going down the space between the frames and flower pots. It will be based on which pictures I finally decide to put in the frames. The holographic bow on the pot is from my Christmas stash. I thought is balanced out the gems on the frames and butterfly.
Here are some closeups of the details.
Thanks for stopping by. Let me know if you have any questions.
Sue
3/23/2011
Three Elements Page Sketch - Variation 2
Here's the original sketch again SKETCH
Here's my second variation, still pretty close to the original.
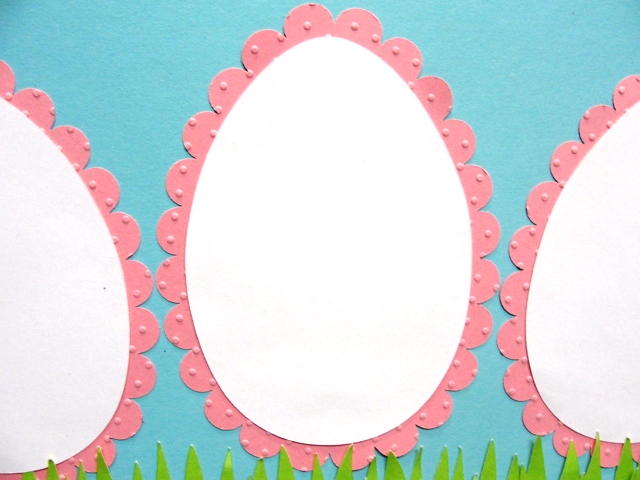
This is another Easter sketch for my three grandchildren. I used the same background paper as the previouse page. I switched out the square frames with egg shaped ones. I used Easter 2010 to cut both the scalloped and plain eggs. I ran the scalloped eggs through the Swiss Dots folder and my Cuttlebug. I used the Easter 2010 cartridge to also cut the three rabbits. I only cut the blackout of each. Two are chocolate brown and one is vanilla (Recollections card stock). My middle grandchild doesn't like chocolate. (She can't be mine??? LOL) The bows are from Walmart. The basket is from Doodlecharms. I didn't use the handle because I couldn't get the frames to look right. I cut it out of plain yellow card stock (Bazzill). I used my EK Success braid punch to add dimension to the top of the basket. I used my MS score board and made a basket weave pattern. I then used brown chalk to highlight the score lines. Glue dotted some silk daisies and ribbon flowers to make it more festive. The grass is cut from Platin Schoolbook. I welded four of the grass cuts together and made them 11.5 inches long. I then cut two of them and layered them behind the basket and in front of the eggs. The double zigzag is also from Plantin Schoolbook. I used the same technique only I cut the pink one taller than the white. Then adhered them together for the border.
If someone wants them, I will post the gypsy screen shots here for the cuts. The lettering for the 3 Good Eggs title is from my stash.
Thanks for stopping by. Let me know if you have any questions.
Here's my second variation, still pretty close to the original.
This is another Easter sketch for my three grandchildren. I used the same background paper as the previouse page. I switched out the square frames with egg shaped ones. I used Easter 2010 to cut both the scalloped and plain eggs. I ran the scalloped eggs through the Swiss Dots folder and my Cuttlebug. I used the Easter 2010 cartridge to also cut the three rabbits. I only cut the blackout of each. Two are chocolate brown and one is vanilla (Recollections card stock). My middle grandchild doesn't like chocolate. (She can't be mine??? LOL) The bows are from Walmart. The basket is from Doodlecharms. I didn't use the handle because I couldn't get the frames to look right. I cut it out of plain yellow card stock (Bazzill). I used my EK Success braid punch to add dimension to the top of the basket. I used my MS score board and made a basket weave pattern. I then used brown chalk to highlight the score lines. Glue dotted some silk daisies and ribbon flowers to make it more festive. The grass is cut from Platin Schoolbook. I welded four of the grass cuts together and made them 11.5 inches long. I then cut two of them and layered them behind the basket and in front of the eggs. The double zigzag is also from Plantin Schoolbook. I used the same technique only I cut the pink one taller than the white. Then adhered them together for the border.
If someone wants them, I will post the gypsy screen shots here for the cuts. The lettering for the 3 Good Eggs title is from my stash.
Thanks for stopping by. Let me know if you have any questions.
3/22/2011
Three Elements Page Sketch
I do like to use page sketches for my scrapbook layouts. One of my favorite sources is Scrapbook ETC
I chose this layout because of the three pictures of equal size. It is just perfect for my three grandchildren.
I used this layout to make three variations. This post will be variation # 1 pretty true to the sketch. It is an Easter layout featuring the bunny from Create-A-Critter, and the Happy Easter from the 2010 Easter Cartridge.
The base of the page is a 12" by 12" sheet of light blue card stock from Recollections. The patterned papers are from DCWV - Stack #7. I used a loop border punch on both the top and bottom edges of the blue checked paper and placed 1.5" strips of white card stock under the edges to show the loops. The photo mats are more of the light blue card stock with white inserts. The white zigzag is actually one of Bazzill "Just the Edge" cardstock strips.. These borders have a smooth and a dotted side. I put the dotted side up. I used the Cricut to cut a 3" circle from dotted paper. The blue circle and scalloped circle were cut with my Nestabilities. The bunny is cut at 2.5". The base is black card stock, layer one is pink and layer 2 is white, the tummy is also pink. Happy Easter is cut from white and shadowed with pink. The layered rectangle and the tab at the top were cut by hand. I used a scalloped puch to make the edges on the tag. I used silk flowers to bring more color into the page.
Here are some close ups of the page elements:
Thanks for stopping by. Let me know if you have any questions.
Sue
I chose this layout because of the three pictures of equal size. It is just perfect for my three grandchildren.
I used this layout to make three variations. This post will be variation # 1 pretty true to the sketch. It is an Easter layout featuring the bunny from Create-A-Critter, and the Happy Easter from the 2010 Easter Cartridge.
The base of the page is a 12" by 12" sheet of light blue card stock from Recollections. The patterned papers are from DCWV - Stack #7. I used a loop border punch on both the top and bottom edges of the blue checked paper and placed 1.5" strips of white card stock under the edges to show the loops. The photo mats are more of the light blue card stock with white inserts. The white zigzag is actually one of Bazzill "Just the Edge" cardstock strips.. These borders have a smooth and a dotted side. I put the dotted side up. I used the Cricut to cut a 3" circle from dotted paper. The blue circle and scalloped circle were cut with my Nestabilities. The bunny is cut at 2.5". The base is black card stock, layer one is pink and layer 2 is white, the tummy is also pink. Happy Easter is cut from white and shadowed with pink. The layered rectangle and the tab at the top were cut by hand. I used a scalloped puch to make the edges on the tag. I used silk flowers to bring more color into the page.
Here are some close ups of the page elements:
Thanks for stopping by. Let me know if you have any questions.
Sue
Subscribe to:
Posts (Atom)