Showing posts with label Autumn. Show all posts

11/04/2011

November Birthday Card

Here in Indiana the frost is on the pumpkins.  Of course, that's not as bad as the Northeast where they are covered with snow.  I made this card for a fall birthday.  The sentiment is from the dollar bin at Michaels.  I stamped each word separately with TH antique photo distress ink.  I cut the circle and scalloped circle with nestabilities dies, and the fence is cut from the Cricut Paper Doll Dressup cartridge.  I am posting this card on the Celebrate the Occasion #37 The theme this week is "Fall (must have a pumpkin)"!!!!


Thanks for stopping by.  Leave a comment if you can.
Sue

10/18/2011

Autumn Anniversary Card

Just a short post of an anniversary card I made for my cousin.  Somewhere, and I forgot where, there's a challenge to use layers on a card and I got the idea of using another multi-cut  image from the Preserves cartridge-this time a lid, to make a large sunflower.

I used the sunburst cut also from Preserves for the "leaves".  I put the flower cuts through assorted cuttlebug folders to heighten the layering.


There isn't any yellow card stock, I guess the lighting  from the camera flash made the orange turn yellow???

The corner elements are made from one small gold doily cut into quarters.  I embossed "Happy Anniversary" in gold from a Michaels dollar bin stamp.  Tim Holtz antique photo ink and Dazzle gold gems are the rest of the decor.  This is a 5" by 5" card made with Color Bok card stock.

Thanks for stopping by. If you have a chance leave a comment, I'd love to hear from you.
Sue

10/14/2011

Mini Album - Accordion Fold

Just a few peeks.  I'm working on a new mini album based on another of Laura's fabulous designs.  I actually have the book together and now I'm working on the decorations.  Here's a link to Laura's UStream on how to make the album.  She's a great teacher and fun to watch!! This is a huge album, but it didn't take long to create the basic album.  It just has so much room it take longer to make tags and mats and to decorate than to put the album together.  I'm entering this over at You Had Me At Craft, Pals Paper Arts and Really Reasonable Ribbon's Challenge.  You should check out all the fabulous projects people are working on this week.

I decided to make an album on Fall, Family and Fun.  This is a great album with just a ton of places to put pictures, memorabilia, and journaling.  All together there are 30-5x7 photo mats on the trio pockets, 10-5.5 by 11.5 photo mats on the full page pockets, 15 double sided 4.5 x 5.75 tags inside the trio pockets, 10 double sided 5x7.5 photo mats.  Plus the inside of the front and back covers have 5 by 11 areas for what ever you want to put into the book.  Whew! Here are some pics, I'll post more when I finish it.
The album is 11 inches high by 7 inches wide.
 Since my accordion folds weren't as pretty as Laura's, I cover the spine with an overlay of linen ribbon.  It is attached to the front and back covers, but not the folded card stock of the spine.
 All the items on the table under the album are decorations that still need to go into the album.
 I didn't make pockets on the front or back covers because I didn't think I needed more tags.  The punched area of the "Spine" is loose, but the rest of the "red" is glued to the cover.  I have my album divided into Apple Picking, Harvest/Pumpkin Patch, Autumn Festivals, Falling Leaves and Thanksgiving.  I didn't include Halloween because we have separate minis for that holiday.
 For each of the trio pockets, I cut tags using the Tags, Bags, Boxes and More Cartridge.


 For each of the full page pockets I made photo mats using the Preserves cartridge.
 This is the coolest cut!  Each cut gives you three frames.  By using double sided paper, you just get dozens of different combinations, and they look like you spent hours framing them just so. LOL


 The turkey is actually one of the place card holders I made from a kit year's ago!  I had a few left over and this seemed like a great place to use one.

Thanks for stopping by.
Sue

9/22/2011

Missing You Card - Fall

This week's challenge at BBTB2 is for Walk In My Garden Wheelbarrow. Thanks for heads up Donna M.!  I'm sending this to that site also.  Over at Whimsical Wednesday they're having a Fall Colors Challenge.  This is my entry.  I made it to send to a friend.  Why don't you go on over to see all the fabulous creations and join in on the fun?

Card stock is Color Box  Although it looks like a lot of green (should have used a different cloth for the backdrop), there are golds, brown, oranges, coppers, brass, and purple).
Inks are from Ranger and Color Box
Cricut cut is from A Child's Year - I welded two silhouettes together on my Gypsy.  I know the boy is actually harvesting what look like beets, but I covered that part up  LOL.
Punch is MS
Poem is a child's song (I don't know the author) sorry.  All the printing is computer generated.
Leaves are Spare Parts brads

I made some homemade pearl mist that I sprayed on the children.  Sorry but today was not the best day to photograph so the shine doesn't come out in the  picture.

Thanks so much for taking a look.  Please leave a comment if you can.
Sue

10/12/2010

Focus on Orange

Paper Playtime is focusing on the color orange this week.  I tried to incorporate as many shades of orange as I could in my card "Mr. Pumpkin".  Maybe he will meet up with Mr. Turkey and enjoy trick-or-treating LOL.

Dressed for an autumn night out.

Ooop!  Need to trim a string on the ribbon.

This is the pumpkin card on Wild Card combined with the top hat on ACY St. Patrick's Day cut.

I scrunched the ribbon and added foam glitter leaves and a cream sunflower.
 Thanks for stopping by.  Leave a comment if you have time.
Thanks
Sue

9/27/2010

Candy Corny

I am just in love with the Mini Monsters Cartridge!  I couldn't make up my mind on what theme to try out on the City Crafter Challenge this week.  Then I saw Candy Corny on the Mini Monsters cart and things just went from there.  The papers are from last years DCWV Autumn stack and Bazzill card stock.  The gems are Recollection and the brads and button are from Spare Parts.


Thanks for stopping by.  If you have any questions or just want to leave a comment, I'd love to hear from you.


Sue

I used Peachy Keen's face parts stamps for her eyes and mouth.

A side view to show the demension.

9/23/2010

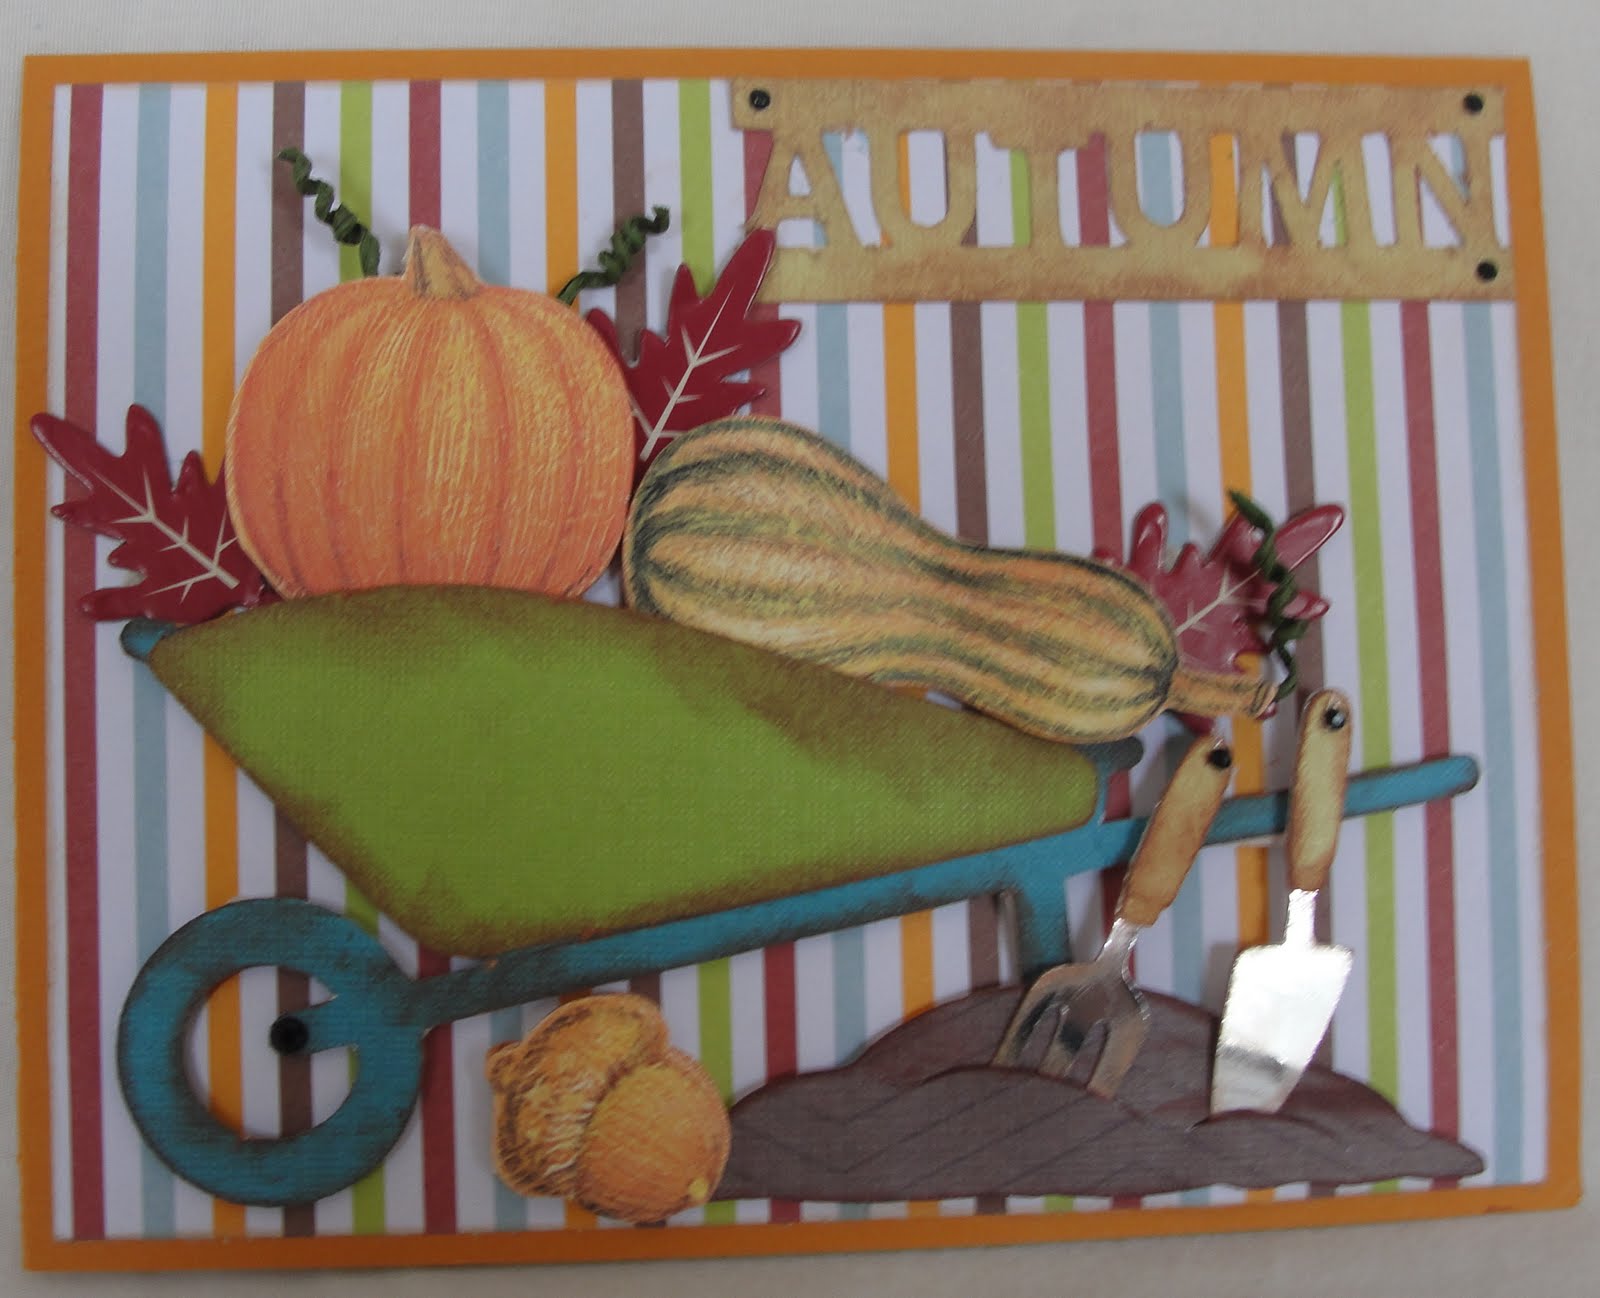
Harvest Card

I'm making this card for a gardening buddy whose birthday is in the Autumn.  I haven't added the sentiment yet, but it will be something on the line of  "Bountiful Blessings on Your Birthday." 

I am submitting it to Challenge #28 at Fantabulous Cricut Challenge Me Mondays - In My Garden Harvest Time:
Create a project having to do with gardening (plants, gardening tools, vegetables, etc.)

Thanks for stopping by.
Sue
The word Autumn is from Pagoda, the pile of dirt is from Everyday Paper Dolls, and the wheel barrow and tools are from Walk in My Garden.


The blank inside...I don't know which font to use.

Autumn Card

This sparkly Autumn card is made from DCWV Indian Summer Glitter Matstack card stock.  I cut "Autumn" at 2.91 inches on my Cricut using  Lyrical Letters.  It's a delicate cut, but I think it has enough weight to support the Prima sunflowers.  I just fell in love with these chipboard leaves by Me and My Big Ideas.  The leaf gems are something new at Michael's and they are by Recollections.  They come in a roll and are one strand of glue.

I am submitting this card to:
Paper Playtime Challenge (Autumn card)     CreativeAccents Challenge (ABC - alpha, bling, chipboard).

Thanks for stopping by.  If you have a moment, leave a comment.  I'd love to hear from you.  Sue.


Lots of sparkle - just like Autumn


A titled view to take away some of the glare.

This is the inside with another one of the glittered chipboard leaves.

9/19/2010

ColorQ Card

For the fun of it I made this card following the color choices at ColorQ - Cherry, Pear, Peach, White and Espresso. In my stack of K & Company paper packs I found papers with the required Cherry, Pear, Peach, and White.  I used the Espresso glitter paper from DCWV and cut it with MS double doily punch.  I added three gold buttons with white roses on them for some bling.  

I really like this project because it made me pair colors that are way out of my comfort zone.  But I think the card came out nice.  It reminds me of a transistion between spring to summer. It would be okay for a masculine card also.


Here's my card:  Thanks for stopping by...Sue