Just a few peeks. I'm working on a new mini album based on another of Laura's fabulous designs. I actually have the book together and now I'm working on the decorations. Here's a link to Laura's UStream on how to make the album. She's a great teacher and fun to watch!! This is a huge album, but it didn't take long to create the basic album. It just has so much room it take longer to make tags and mats and to decorate than to put the album together. I'm entering this over at You Had Me At Craft, Pals Paper Arts and Really Reasonable Ribbon's Challenge. You should check out all the fabulous projects people are working on this week.
I decided to make an album on Fall, Family and Fun. This is a great album with just a ton of places to put pictures, memorabilia, and journaling. All together there are 30-5x7 photo mats on the trio pockets, 10-5.5 by 11.5 photo mats on the full page pockets, 15 double sided 4.5 x 5.75 tags inside the trio pockets, 10 double sided 5x7.5 photo mats. Plus the inside of the front and back covers have 5 by 11 areas for what ever you want to put into the book. Whew! Here are some pics, I'll post more when I finish it.
The album is 11 inches high by 7 inches wide.
Since my accordion folds weren't as pretty as Laura's, I cover the spine with an overlay of linen ribbon. It is attached to the front and back covers, but not the folded card stock of the spine.
All the items on the table under the album are decorations that still need to go into the album.
I didn't make pockets on the front or back covers because I didn't think I needed more tags. The punched area of the "Spine" is loose, but the rest of the "red" is glued to the cover. I have my album divided into Apple Picking, Harvest/Pumpkin Patch, Autumn Festivals, Falling Leaves and Thanksgiving. I didn't include Halloween because we have separate minis for that holiday.
For each of the trio pockets, I cut tags using the Tags, Bags, Boxes and More Cartridge.
For each of the full page pockets I made photo mats using the Preserves cartridge.
This is the coolest cut! Each cut gives you three frames. By using double sided paper, you just get dozens of different combinations, and they look like you spent hours framing them just so. LOL
The turkey is actually one of the place card holders I made from a kit year's ago! I had a few left over and this seemed like a great place to use one.
Thanks for stopping by.
Sue
A place to share my creations and inspirations with other card makers and scrapers.
Showing posts with label New Techniques. Show all posts
10/14/2011
9/14/2011
Halloween Mini Page 1
Halloween is a big holiday in our family. I always have lots of pictures of everyone's costume and trick or treat night as well as any party we might host. I decided to do a mini album of different page styles for this Halloween. Here's the first one.
The card stock punch out mummy "jiggles". I don't have any of those springs and I remember someone on the web made one with punched paper and beading wire. So I made my own from two paper circles and beading wire I wrapped around a pencil. I used Scor Tape to attach it to the mat. It worked out just fine.
Page 1:
Library envelope page:
Front side. I used the Cricut and cut a 5 1/2" library pocket out of black card stock. I used two designer pages, ribbon, and embellishments from my stash to decorate it.
For the back of the page I cut a rectangle and folded it in half. I taped the bottom and open side to form a tall pocket. A binding strip of black card stock is scored in half and again at 1/4" on each side of that score. The scores are folded (mountain/valley) before attaching it to the sides of the tall pocket card. I glued the library card to the front of the tall pocket and add a mat to the back side. TThe card stock punch out mummy "jiggles". I don't have any of those springs and I remember someone on the web made one with punched paper and beading wire. So I made my own from two paper circles and beading wire I wrapped around a pencil. I used Scor Tape to attach it to the mat. It worked out just fine.
I haven't made the tag for the library pocket yet.
Thanks for stopping by. Let me know what you think.
Hugs
Sue
9/11/2011
Thinking of You Card - Woven Ribbon Wreath
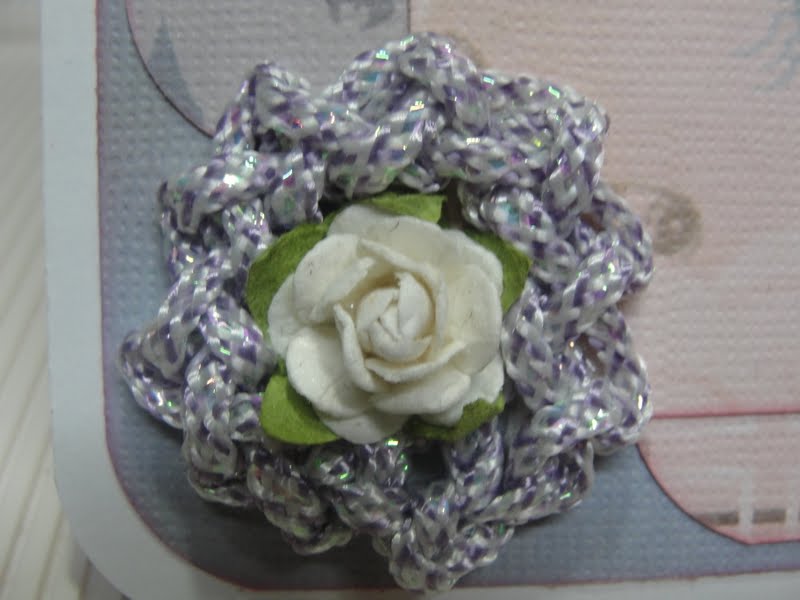
I love to try out new craft projects. When I saw the tutorial on woven ribbon wreaths I knew I had to try it out. I made a necklace for my granddaughter, then I started playing around with plastic canvas glitter cord. This is what I came up with.
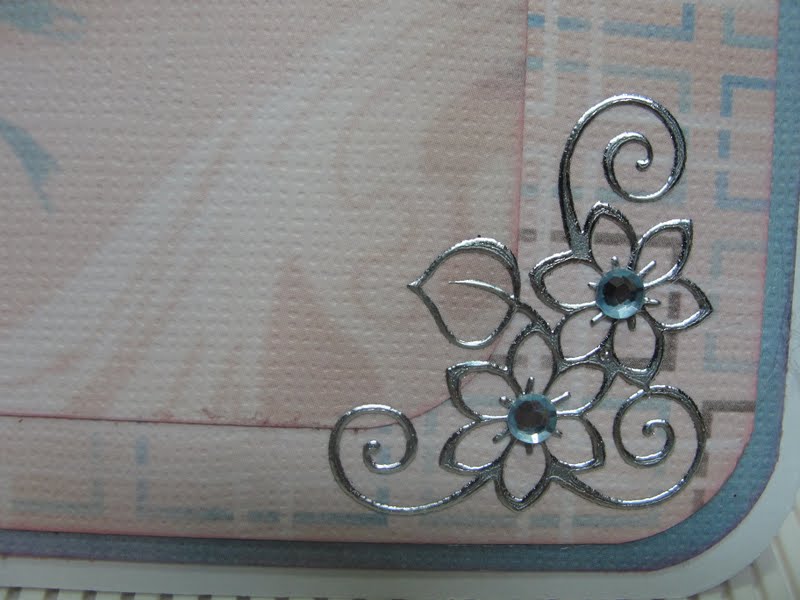
The papers are from the DCWV 8" by 8" Far East stack. The dazzles are from Paper Wishes, I added some blue gems to the centers of the flowers. The rose is a Prima, and the stamp was from the dollar bin at Michaels. The tag is punched with an EK Success punch.
Thanks for stopping by. Let me know what you think.
Sue
1/30/2011
New Techniques
Sorry I've been absent for a while. I'm teaching myself some new technique to use on my paper crafts.
I started with this: card:
This is my first Yo-Yo flower in over 45 years! Wow how old am I!!! LOL I'll tell you they were a lot easier to make before the arthritis and poor vision set into my life. Here's a close up of the flower:
I started with a 3" square of cotton fabric, 10" of straight lace, button thread, and a 3/4" button. The hardest part? Tying the thread bow! I probably wasted 18" of thread, but my fingers are not conducive to small bows - let alone tying with thread. I made the flower then gathered the lace and glued it to the back of the flower using score tape. The button is glued to the front of the flower to hide the gathers.
The other technique on this card is the black "lace". Here is a close up:
This started out as plain black Recollections card stock. I punched a 6" wide piece of card with the MS lacy hearts border punch. I trimmed the piece to 5.25" by 1.75". Then I ran it through my Xyron machine. I used a black glitter that has pink glitter highlights. (It came in a box of small interlocking bottles of glitter in 20 shades. I bought it a Hobby Lobby a couple of years ago.) I pressed the glitter down firmly to make sure it covered the card stock. Then I went back with a needle and reopened all the holes in the hearts that were filled in with glue and glitter.
I'm not very good at explaining how to's so here are two video links. One for the YO-YO flower and one for the Xyron glue/glitter process.
A few other comments about the card:
This gorgeous pin came from June over at Lina Beas she makes fantastic pins and beautiful paper art. Thank you June and have a great time on your Cruise.
The pleated velvet ribbon was the inspiration for this card. I bought it at Walmart along with a package of valentine buttons that included the two white hearts. I used a very thin strip of black paper to "thread them". The simple stamp - came from a $1.00 clear stamp set at Michaels. The paper and it's all one sheet, came from a bundle of paper from Big Lots. The loop border actually goes all around the 8" square. I chose to use just a section without a corner.
Here are some more closeups of the card. Thanks for stopping by. Let me know if you have questions. I will also have a teaser image of what I've been working on for the rest of the week.
Take care everyone.
Sue
Subscribe to:
Posts (Atom)